Nov 26, 2013

Cupcakes & Muffins - Differentiation

Kia Ora Folks,

Nothing beats the taste of a freshly baked cupcake or muffin. These little cakes are universally popular, and there are recipes to suit all tastes and all occasions.

In today’s write up I would like to discuss the difference between a muffin and a cupcake. The way cupcakes and muffins are baked – in a muffin tin (Pan) lined with paper cases – gives them a similar appearance but there are certain differences.

A cupcake is baked with flour and is almost always sweet with a characteristic decorative frosting.

Muffins can be sweet, often with fruit flavouring, but can also be savoury, and are often eaten for breakfast. In its early form, a muffin would have been made with different grains, giving it a heavier texture. The ‘muffin method’ of baking is quiet different to the cupcake. Muffins are made into two stages; the dry ingredients (flour, sugar, dried fruit, nuts and so on) are mixed together in one bowl and the wet (eggs, oil or melted butter) in another. The two are mixed together just enough to dampen the flour with as few strokes as possible.
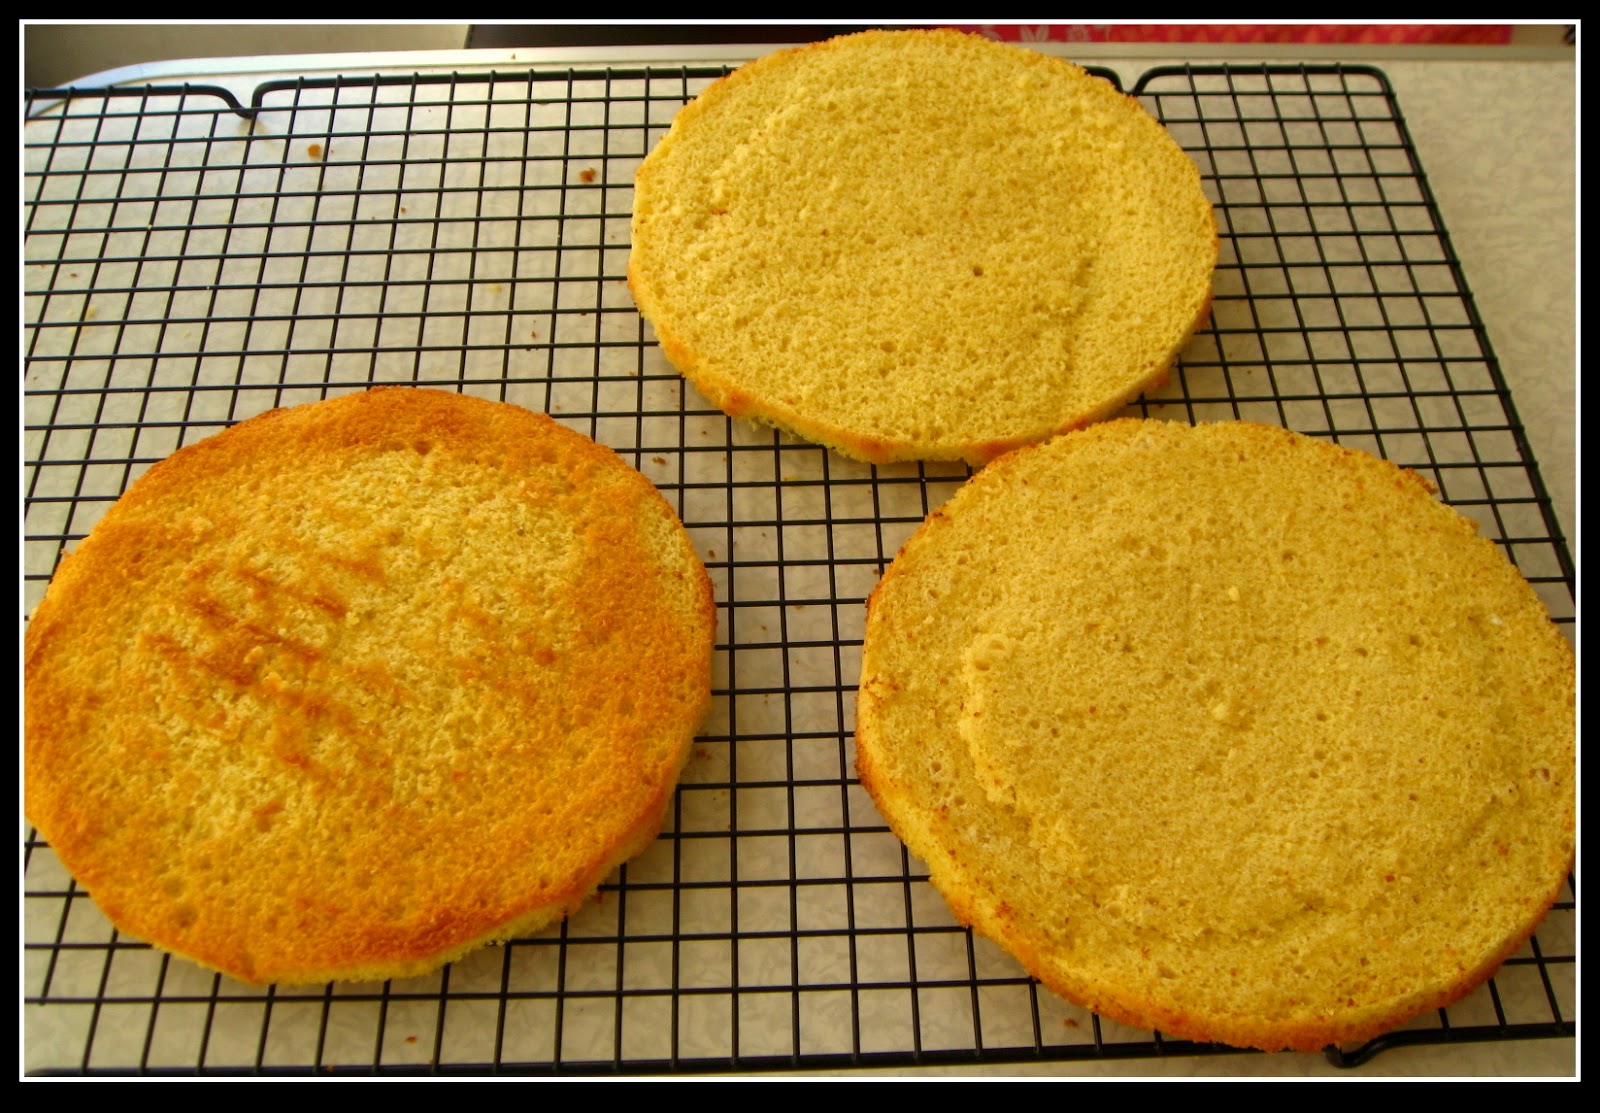
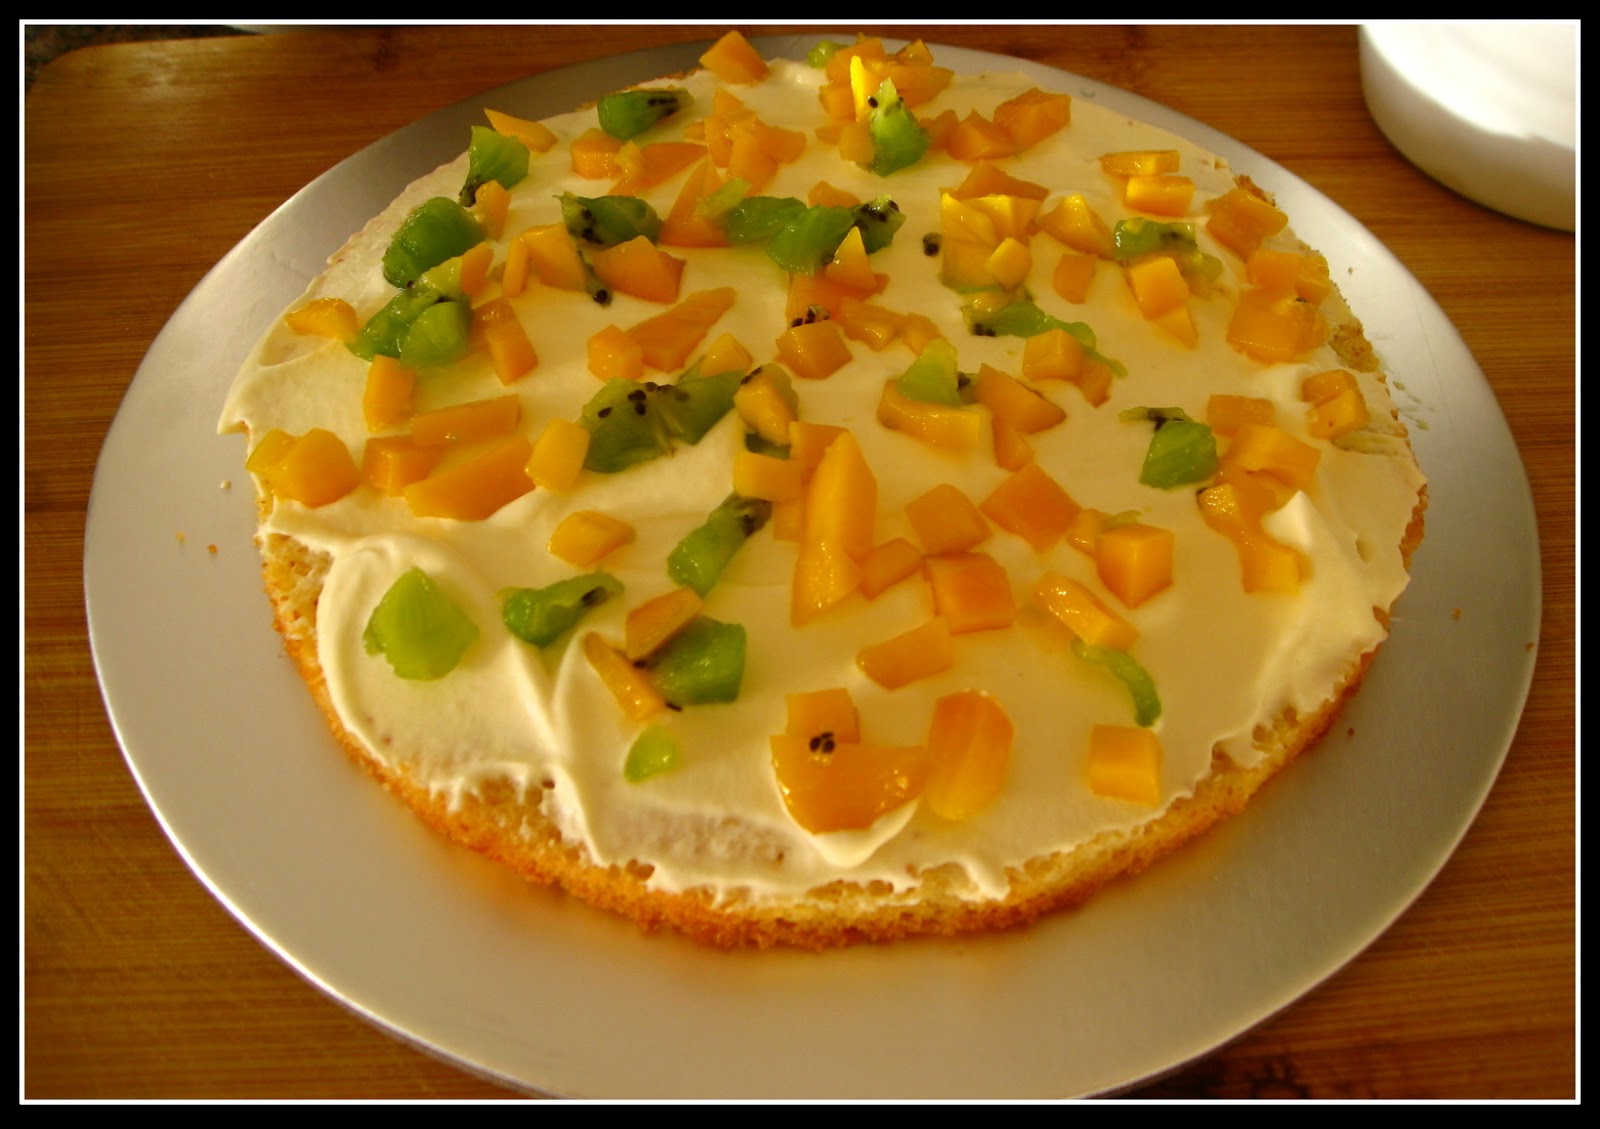
Cupcakes: First made during the Victorian period, cupcakes were originally made using a classic Victoria Sponge recipe with simple decorations such as angelica or candied fruit. These light confections were named fairy cakes in Britain and were enjoyed with afternoon tea.

American cooks made them larger, used rich buttercream with blueberries or chocolate and named them cupcakes – possibly because the recipe for the sponge called for a cupful of each ingredient.

Muffins: Two types of muffins are popular today – the English muffin, an individual round, flat bread, made of dough, baked on a griddle, and often served toasted and spread with butter, and the American muffin, a little cake, usually sweet, baked in the oven.
English and American muffins are distinct from each other in taste and texture, and apart from in name are unlikely ever to be confused.


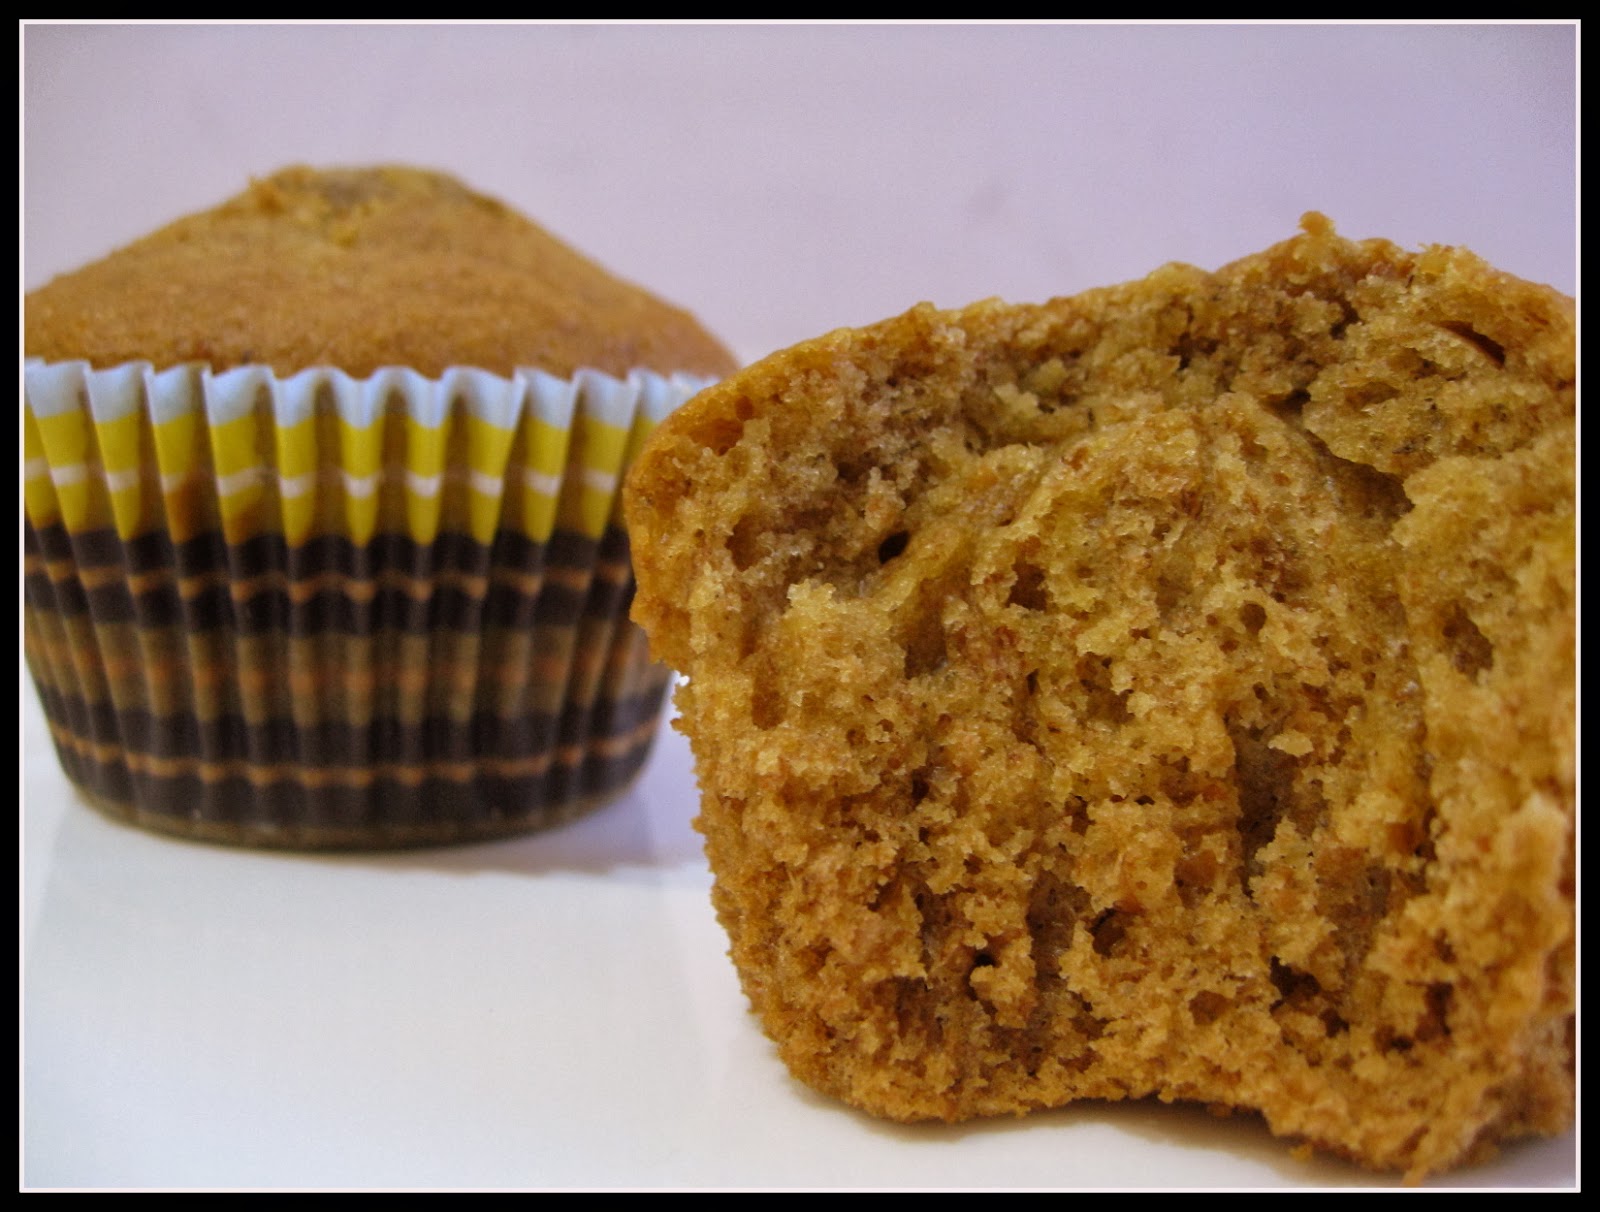
Yesterday I tried a new recipe and it turned out really good. Honey and Yogurt muffins are filling and substantial wholemeal breakfast muffins. They are made with honey rather than with sugar, so are not overly sweet. Different flavours of honey will give subtle changes in taste. I have used Manuka honey which is most popular in New Zealand. It becomes more nutritious with the use of whole meal flour. If you like you can serve this with a glass of warm milk, tea or coffee.  


Have a great week ahead!
Your Baker
Chica's Bakehouse

Jul 31, 2013

All Aboard, Choo Choo Train Cake

                                                                The Choo Choo Train Cake


Kia Ora folks,

The idea of a train cake has been inspired by my 2 year old nephew Naryan who loves trains. He is totally obsessed with trains these days. I recently visited a train museum in Phoenix, Arizona and I was amazed to see the different types of trains there. I already sat in a Choo Choo train with my nephew and learned that each train has different names and Thomas is the most popular of all.


 Making a Choo Choo train cake wasn't a difficult task but somewhat time consuming. To begin with I baked two different cakes. For the engine I baked chocolate sponge cake in a bread mould and the wagons were made out of white chocolate cake slab. Out of one square slab I made 8 wagons of equal sizes and coated them with icing and set them on tracks which were drawn on the cake board with dark chocolate butter cream.

It is wise to bake the cake one day in advance so that they are completely cooled down the next day.


The following day I made two types of icings; Chocolate sour cream icing and Cream cheese icing. I used Neon food colors for making four different icings; blue, purple, pink and green.

It is important to choose your favorite candies for decoration. I got a variety of them like M & M’s, coconut M & M’s, gummy bears,small mint candies, dog bone shape candies, rainbow Twizzlers, oreo cookies & peach gummy wheels.  

The engine was an entire cake cut into smaller pieces and attached with frosting. The wagons were covered with cream cheese frosting with two wagons of each color. These were set in the refrigerator individually before decorating them.


This cake made him very happy and it was worth the efforts and time spent in making it. This cake reminded Naryan of the train park and he wanted to go there again soon. 

Hope you enjoyed looking at the photos and I equally enjoyed making the cake too.
Your Baker
Chica's Bakehouse.

Jul 1, 2013

Special occasion cakes

Mud cupcakes with fondant icing.


Everyone loves cupcakes and what could be more appealing than covering the cakes with gorgeous sugar paste flowers. I have used white chocolate mud cupcake recipe.

So what do we need to know about making excellent mud cake? The recipe gets all its volume from the beaten eggs and not from baking powder or baking soda. So one has to make sure that your whipping bowl is grease free and dry. It is important to use the best milk chocolate of your choice because all the flavour comes from the chocolate used.  It is very important not to over bake your cupcakes. The cake almost melts in your mouth.

A few tips on what to do after the cakes are baked and ready to get dressed.


Covering your cupcakes with fondant.

Levelling: The mud cupcake recipe which I have used gives an even surface to decorate and rarely needs levelling. However if you have had a mishap, any spots or overflowing edges can be trimmed with a small sharp knife.


Butter cream: Butter cream gives a soft surface for applying fondant on top of the cakes. It helps concealing any little lumps and bumps that would otherwise show through the fondant. It is best to coat the cupcakes with butter cream and then fondant immediately as fondant will stick better to the butter cream that has not yet set. With a small palette knife, place a little smear on the cupcake working outwards being careful not to go completely to the edge.

Fondant: You can roll your fondant on the surface lightly dusted with corn flour . Place a round on top of the cupcake smoothing to the outer edges with your thumb or finger. Using the buffer polish up the icing until you have a perfect finish.


Complete your cupcakes with your chosen decorations. 


Happy Baking
Your Baker,
Chica's Bakehouse.

May 20, 2013

BIRTHDAY CAKE


There are many cakes which are perfect for celebrating a birthday, a simple butter sponge decorated with cream cheese frosting is my favorite.  This cake has a nice buttery flavor & a light & moist texture. The entire cake can be decorated with a single colour & then topped with a pretty icing patterns or one can use multiple colours. It all depends on your imagination & creativity.

This cake uses the creaming method where the butter and sugar are beaten together first and then the eggs, followed by the flour and milk is added later. So not only is this recipe easy to make, the cake is delicious in taste too.

I choose to make this beautiful butterfly shape cake. This does not require any fancy mould. It is cut out of a regular 9 inches round sponge. One has to be very careful while cutting the sponge. If you are not too confident then use a scale to make the markings.

For the frosting you will need butter, icing sugar, cream cheese, pure vanilla extract & icing colours. I have used the Philadelphia cream cheese which has excellent flavour and the end result is a good quality spreadable icing which is ready to use. Icing should not be too thick or else it will tear off the crumb and not too thin which will make it too runny. To get a perfect consistency you need a bit of experience.

 Cut off rounded top of the cake to make a flat surface. Cut the cake half into two as shown in the picture. Cut each half into 1/3 and 2/3 pieces. Place the cake pieces on platter to form a butterfly. Gently separate the cake pieces to form wings.


Spread top & sides of the cake with thin layer of frosting to seal in the crumbs. Refrigerate for atleast half an hour so that the frosting is well set. Now frost the cake with another layer of frosting to give it a finishing touch. 

I have used a candy stick, M & M’s, jelly beans & some chocolate chips to decorate the body of the butterfly.The top of the cake can be decorated the way I have done it, or use your imagination. There can be many ways of doing it, it all depends on how much time you have in hand & the candies available.


I am sure this will be a big hit for your birthday. So simple to make yet so elegant.
Happy Birthday!

Your baker
Chica's Bakehouse.


May 10, 2013


                                      Gâteau aux fruits


A couple of days back I made this good looking, lip-smacking, as light as air birthday cake. Like you all know we create beautiful bakery items as per your needs. We call them as tailor made patisserie.

The base of the cake was made out of genoise sponge. This sponge has its origins in Genoa, Italy. It comes under the family of light sponge cakes.  I personally find it very tricky to make genoise sponge but the end result is really worth the efforts.

The difference between this and the normal sponge is that, this is made over a double boiler & some amount of warm butter is mixed in the batter to give it a soft & flavourful texture. One has to be extremely careful while making this sponge. All your equipments should be grease free. The volume of your final product depends on the amount of aeration that takes place while beating the eggs and the sugar. The colour of the eggs turns from yellowish to light creamy gradually. Once this is done the sifted refined flour is folded into it with a very light hand. Finally, warm butter is amalgamated in the batter. This step is very important because you have to take care and make sure all the air remains intact in the batter without too much handling.


 And voila, your baked cake will look golden brown, will have a nice soft texture & it will also have a delicious butter flavour. Although, there isn’t too much butter in the recipe. The baked sponge had a wonderful volume, so it has been cut lengthwise into 3 parts. If your baked cake do not have a good volume, you can even sandwich it into 2. I have shared a few pictures to show how the cake looks like after cutting it into 3 parts.


This is one baked product where you have a lot of scope to decorate and use different fruits of your liking. There is also a choice as to which liqueur you want to use while soaking your fruits or in the sugar syrup. It’s up to you!


For this particular cake I picked up Kiwi’s, Mangoes, Red Grapes and Peaches. I have cut the mangoes with a fancy fruit cutter. Peaches and kiwi’s I have sliced thinly. If your fruits are a bit sour, make sure to soak them in sugar syrup just before use.


The cream has to be nicely whipped up with an addition of a little sugar & liqueur of your choice.

I really enjoyed creating this cake (I always say creating & not ‘making’, because baking is like a canvas. You create something new each time). It is my hope that serving you will bring as much joy to you and your family & friends as they brought to us while making it. :-)

Hope you all have a great weekend
Your Baker
Chica's Bakehouse.

Apr 28, 2013

Barquettes & Tartlets

Barquette tins are shaped like small gondola boats. Tartlets are round fancy moulds. They are easily available in the market. If you don’t find them you can use any ordinary tart moulds. I have used different shapes like you can see in the picture. I have a wonderful collection of these mini tart moulds in different shapes which are gifted to me by my sis-in-law. I adore those!

When you think of tarts the instant picture about them is something small filled with lemon curd or jam filling. I like to do alterations in the recipe and try to use non ordinary things to give it a not so common look or taste. They are as much fun to make as they are to nibble.

These tarts are homemade made out of scratch from short crust pastry dough. Its look is simple, its medley of textures is surprising and it’s taste the most important part is – sublime. I find short crust pastry the most easiest and less tricky of all the other pastries. It is surely less time consuming and less messy to handle while rolling out and shaping the dough. Of course one has to take certain precautions while handling the dough. In all these pastries only the ratio of flour and fat differs.

Barquettes & Tartlets filled with Cream Cheese Icing & Seedless Red Grape
Once your barquette shells are baked, rest them for quiet sometime until they are at room temperature. You can prepare your filling along side. You can either make sweet or savoury filling depending on the occasion and time. You can also prepare your pastry shells 2 days before the actual serving. I prefer to do that, so that you don’t have to do all at once on the same day. These tarts are a quickie.

These bite sized pieces are irresistible. I have filled them with a delicious cream cheese filling and studded them with a seedless red grape. You can use a slice of your favourite fruit. They look gorgeous and tastes heavenly. Similarly you can also stuff them with a savoury filling topped with cheese and they are perfect for a large gatherings. In no time they will vanish from the platter!

In my next post I will display how to decorate your cute pastry shells with savoury fillings and will give you more ideas about it. You can be creative and innovative with whatever things you have at home and sometimes surprise yourself. They are a lovely surprise treat to make as a gift for someone special.

Bye for now,
The Baker,
Chica's Bakehouse

Apr 24, 2013

Blackforest Gateaux - It rules!


The first time I heard the story of Black Forest Gateaux was when I was a Patisserie student. Before that I have vivid memories of cutting the cake on my birthdays during my childhood. I remember fighting with my elder brother to have the biggest piece of the cake or eating all the cherries from the cake, though I succeeded very few times.

This cake is nothing but layers of chocolate sponge sandwiched with fresh cream & cherries. The top is then covered with extra whipped cream & chocolate shavings and cherries again. The description of the cake did not attract me much; it’s the story behind this cake which I loved the most.

As its name implies, Black Forest Cake comes from the Black Forest region of Germany. The first written recipe for this very popular cake appeared in 1934, and there are many theories as to its origin. It is said that some believe its name 'Schwarzwalder Kirsch Torte' is a tribute to the Kirsch (cherry distillate) flavour that is prominent in this dessert. (Kirsch is made in over 14,000 distilleries in the region.) Others say that the chocolate shavings that garnish the cake remind people of the thick trees that grow in the Black Forest. The cake's origin, itself, also has a few stories. There is also a story that a Dutchman who settled in the region invented the cake. Although we may never know its true origin, let’s agree to the fact that this cake shouts of celebration, of party and of happiness.

To begin this cake we first make a chocolate genoise sponge. This is a very light sponge which absorbs the flavour of rum or kirsch that we use to soak it. It is a bit tricky to make genoise sponge but like we always say practice makes it perfect. The eggs and sugar are beaten until thick. As the batter thickens it becomes lighter and paler in colour. The difference between a regular sponge cake and a genoise is that we add warm melted butter which makes the genoise light and gives a nice flavour. The melted butter needs to be warm, or else it will spoil the batter. Once baked this sponge can be stored in the fridge for a few days. I prefer to use a fresh sponge each time.

For icing the cake we need to use generous amount of whipped cream. Cherries can be used in canned form or fresh. I prefer using canned in the layers so that the cherry syrup can be used for soaking the sponge along with cherry liqueur or rum. When in season fresh cherries are always the best options for the decorating part. I keep the stem of the cherries so that they are easier to pick and also look gorgeous. Chocolate curls can be made well in advance and they come really handy on the day of final dressing up of the cake.


I am off to enjoying the cake now and bake something more, see you soon again!

Your Baker,
Chica's Bakehouse