May 20, 2013

BIRTHDAY CAKE


There are many cakes which are perfect for celebrating 
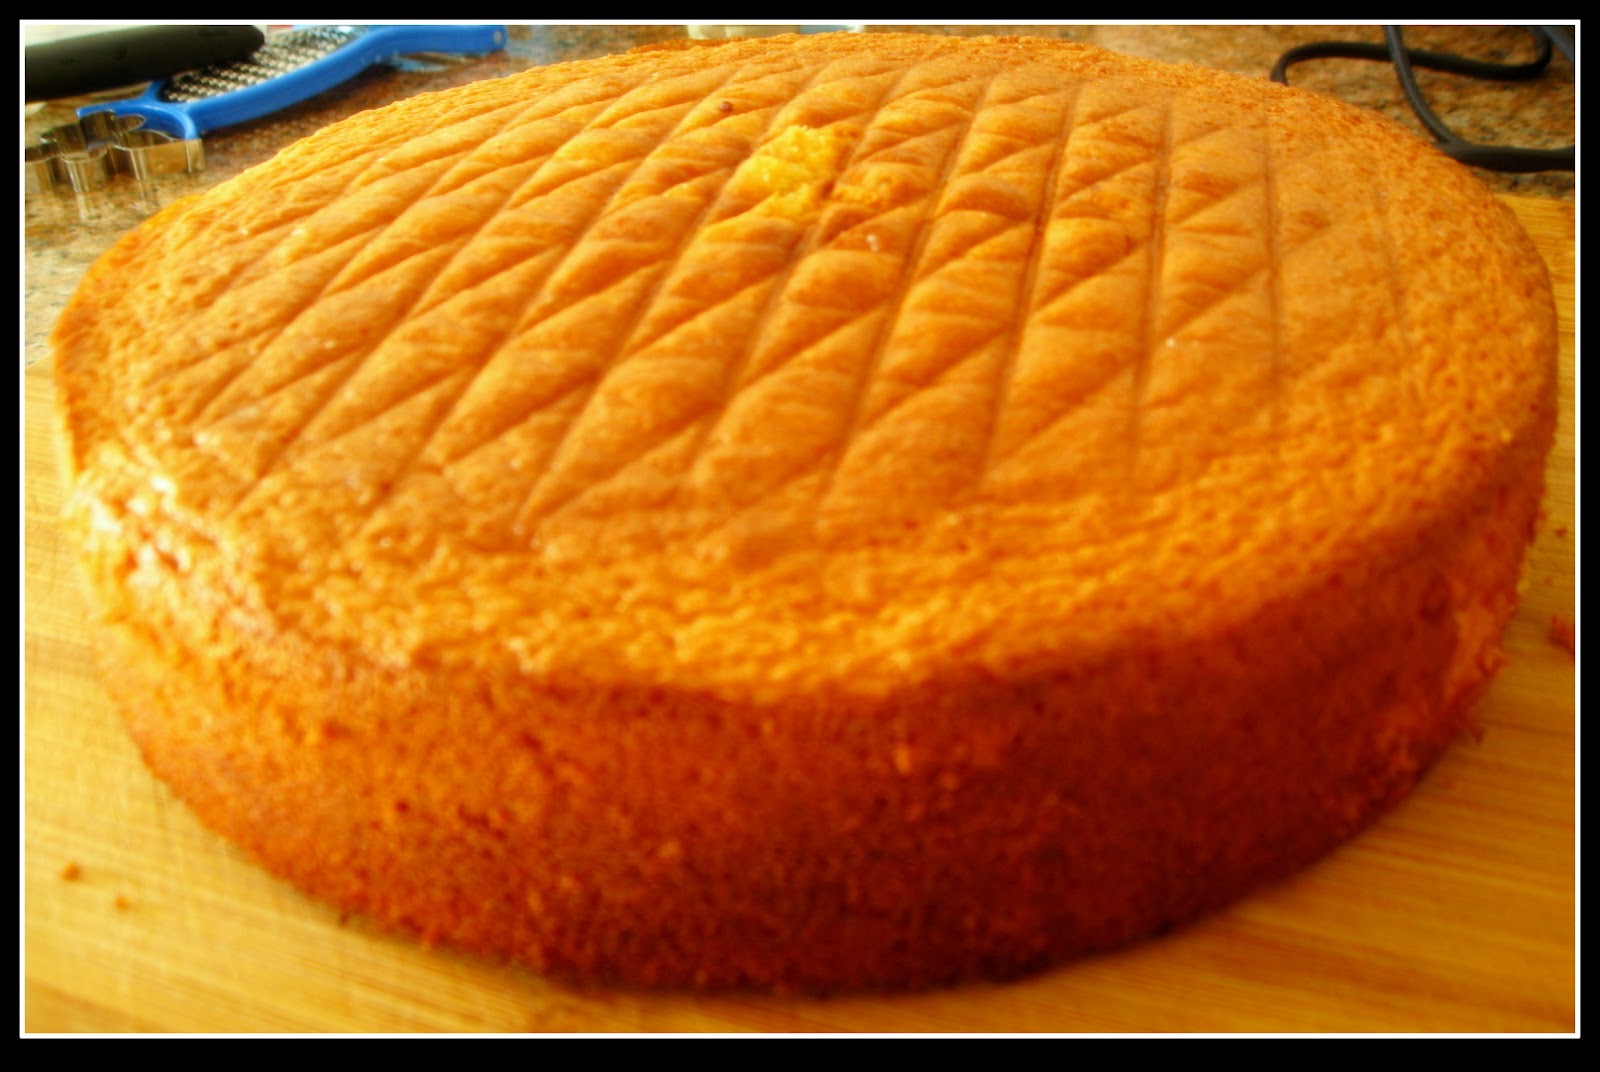
a birthday, a simple butter sponge decorated with cream cheese frosting is my favorite.  This cake has a nice buttery flavor & a light & moist texture. The entire cake can be decorated with a single colour & then topped with a pretty icing patterns or one can use multiple colours. It all depends on your imagination & creativity.

This cake uses the creaming method where the butter and sugar are beaten together first and then the eggs, followed by the flour and milk is added later. So not only is this recipe easy to make, the cake is delicious in taste too.

I choose to make this beautiful butterfly shape cake. This does not require any fancy mould. It is cut out of a regular 9 inches round sponge. One has to be very careful while cutting the sponge. If you are not too confident then use a scale to make the markings.

For the frosting you will need butter, icing sugar, cream cheese, pure vanilla extract & icing colours. I have used the Philadelphia cream cheese which has excellent flavour and the end result is a good quality spreadable icing which is ready to use. Icing should not be too thick or else it will tear off the crumb and not too thin which will make it too runny. To get a perfect consistency you need a bit of experience.

 Cut off rounded top of the cake to make a flat surface. Cut the cake half into two as shown in the picture. Cut each half into 1/3 and 2/3 pieces. Place the cake pieces on platter to form a butterfly. Gently separate the cake pieces to form wings.


Spread top & sides of the cake with thin layer of frosting to seal in the crumbs. Refrigerate for atleast half an hour so that the frosting is well set. Now frost the cake with another layer of frosting to give it a finishing touch. 

I have used a candy stick, M & M’s, jelly beans & some chocolate chips to decorate the body of the butterfly.The top of the cake can be decorated the way I have done it, or use your imagination. There can be many ways of doing it, it all depends on how much time you have in hand & the candies available.


I am sure this will be a big hit for your birthday. So simple to make yet so elegant.
Happy Birthday!

Your baker
Chica's Bakehouse.


May 10, 2013


                                      Gâteau aux fruits


A couple of days back I made this good looking, lip-smacking, as light as air birthday cake. Like you all know we create beautiful bakery items as per your needs. We call them as tailor made patisserie.

The base of the cake was made out of genoise sponge. This sponge has its origins in Genoa, Italy. It comes under the family of light sponge cakes.  I personally find it very tricky to make genoise sponge but the end result is really worth the efforts.

The difference between this and the normal sponge is that, this is made over a double boiler & some amount of warm butter is mixed in the batter to give it a soft & flavourful texture. One has to be extremely careful while making this sponge. All your equipments should be grease free. The volume of your final product depends on the amount of aeration that takes place while beating the eggs and the sugar. The colour of the eggs turns from yellowish to light creamy gradually. Once this is done the sifted refined flour is folded into it with a very light hand. Finally, warm butter is amalgamated in the batter. This step is very important because you have to take care and make sure all the air remains intact in the batter without too much handling.


 And voila, your baked cake will look golden brown, will have a nice soft texture & it will also have a delicious butter flavour. Although, there isn’t too much butter in the recipe. The baked sponge had a wonderful volume, so it has been cut lengthwise into 3 parts. If your baked cake do not have a good volume, you can even sandwich it into 2. I have shared a few pictures to show how the cake looks like after cutting it into 3 parts.


This is one baked product where you have a lot of scope to decorate and use different fruits of your liking. There is also a choice as to which liqueur you want to use while soaking your fruits or in the sugar syrup. It’s up to you!


For this particular cake I picked up Kiwi’s, Mangoes, Red Grapes and Peaches. I have cut the mangoes with a fancy fruit cutter. Peaches and kiwi’s I have sliced thinly. If your fruits are a bit sour, make sure to soak them in sugar syrup just before use.


The cream has to be nicely whipped up with an addition of a little sugar & liqueur of your choice.

I really enjoyed creating this cake (I always say creating & not ‘making’, because baking is like a canvas. You create something new each time). It is my hope that serving you will bring as much joy to you and your family & friends as they brought to us while making it. :-)

Hope you all have a great weekend
Your Baker
Chica's Bakehouse.